Back to Peafowl Articles
Heated Roost for Peafowl
Craig Hopkins
In many areas of the country where wintertime temperatures
drop well below freezing, there is a need for providing a heated roost for cold
sensitive varieties of peafowl and game birds.
We live in east-central
Indiana
and we provide a heated roost for our Burmese green peafowl.
The heated roost design that is described in this article is very
inexpensive to build and to operate during periods of sub-freezing weather.
We use this heated roost only for our Burmese green peafowl, but it can
be used with any variety and age of peafowl to prevent frost bitten toes and to
reduce deaths caused by extremely cold weather.
The bill of materials required can be found at the end of this article.
Roosts for peafowl should always be placed so that the peafowl sit on the
flat side of a 2” x 4” or 2” x 6”. This
allows the peafowl to sit on their feet, rather than with their toes exposed
while gripping a round roost, which prevents frost bitten toes.
If the roost bows due to the number of roosting peafowl or the length of
the roost or both, a second 2” x 4” will have to be installed on edge on the
bottom side of the roost to provide added support.
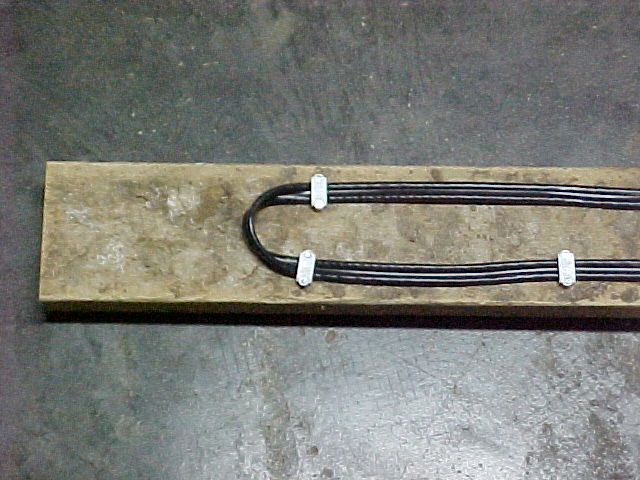
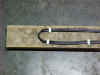
Step 1: Purchase an electric heat tape used on water pipes to prevent them from
freezing. The heat tape should have
a thermostat that will turn it off and on at approximately 38 F.
The heat tape should be long enough to run along the 2” x 4” twice.
Leave about 6” of each end of the 2” x 4” uncovered by the heat
tape so the completed roost can be secured inside of the building or stall.
This will reduce the length of the heat tape required by 1’.
See photo #1
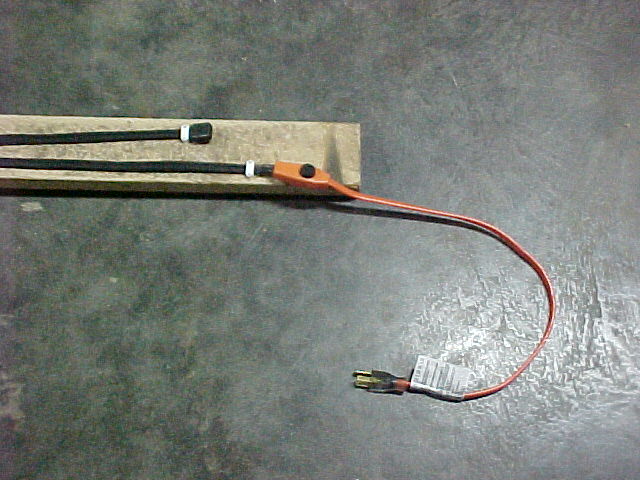
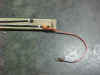
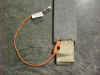
Step 2: Secure the heat tape to the flat side of the 2” x 4” with the
plastic staples. Be sure to leave
enough excess heat tape on the thermostat end so that the thermostat can hang
freely under the roost. This
prevents the peafowl from sitting on the thermostat and giving it an inaccurate
reading of the actual air temperature. See
photos #2, 3
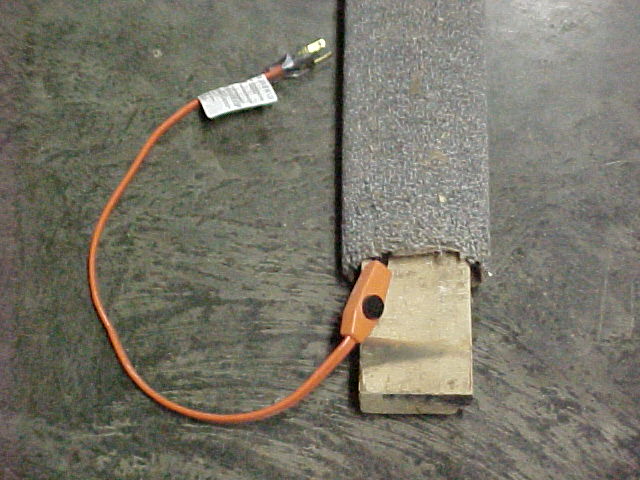
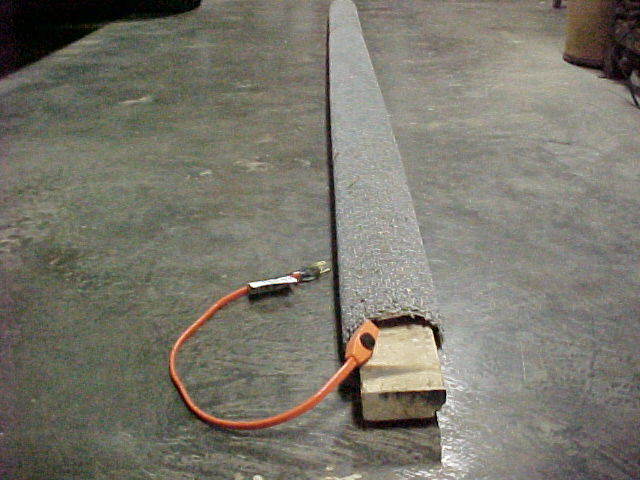
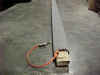
Step 3: Wrap
the carpeting around the roost and secure to the bottom side of the 2” x 4”
with roofing nails or long staples. Leave
about 4” on each end of the roost uncovered by the carpet.
The roost is now complete. See
photo #4
Step 4: Install the roost with dry wall screws or nails.
I use dry wall screws so that the roost can be removed once the cold
weather months have passed.
Bill
of material:
1)
1, 2” x 4” x length required for
roost.
2)
1, electric heat tape with thermostat.
110 volt, 2x length of 2” x 4” minus 1’.
3)
Plastic staples used for 12/2 electric
wire. Space every 2’ to secure
heat tape.
4)
Carpet remnant or piece of
indoor/outdoor carpeting to wrap the the 2” x 4” and heat tape.
5)
1 ¼” roofing nails spaced every 1’ to secure carpeting to
2” x 4”.
Photo
#1 Photo
#2 Photo
#3 Photo #4
Back to Peafowl Articles
© 2005, Hopkins' Alternative Livestock
Web site designed and maintained by Lisa
Hopkins